
Unrecognized Browser Flow
🎯 Purpose
Handles authentication for browsers that haven't been previously marked as trusted. This flow requires full user identification and multi-factor authentication to establish a secure session.
🔄 Detailed Process Flow
🚀 Step 1: Initial Authentication Request
- User Action: User clicks "Sign In" button on Relying Party's (RP) login page
- Redirect Process: User redirected via OIDC redirect URL to REL-ID Web Authentication
- URL Parameters: Authorization request includes client_id, scope, redirect_uri, state
- Session Initialization: REL-ID portal creates new authentication session
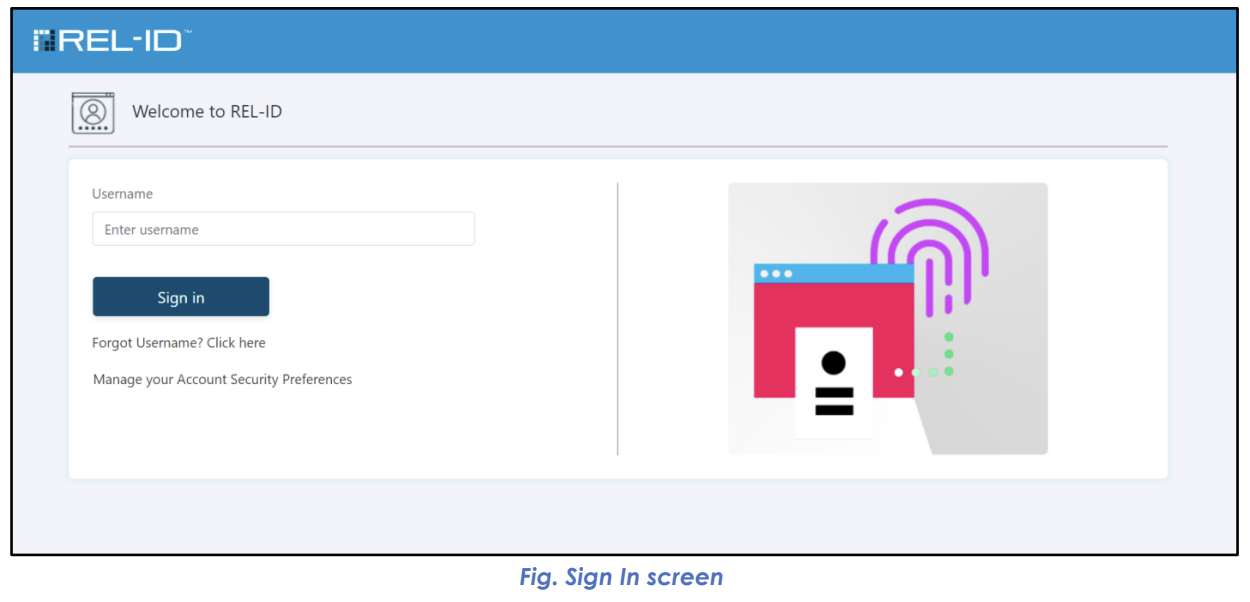
👤 Step 2: Username Entry Screen
- Screen Presentation: REL-ID Web Authentication login page loads
- User Interface: Clean login screen with username field prominently displayed
- User Action: User enters their REL-ID user identifier
- Input Validation: System validates username format and existence
🌐 Step 3: Remember Me Option (Conditional)
- Availability: Remember Me checkbox shown if administrator enabled the configuration
- User Choice: User can optionally select "Remember Me" for browser trust
- Impact: Selection affects future authentication flows for this browser
- Duration: Trust established for configured period (typically 1 year)
🔍 Step 4: User Type Determination
- Profile Analysis: System analyzes user profile to determine authentication capabilities
- User Categories:
- REL-ID Mobile User: Has activated REL-ID mobile application
- Web-Only User: Activated only through web without mobile app
- Factor Availability: Determines which authentication factors are available
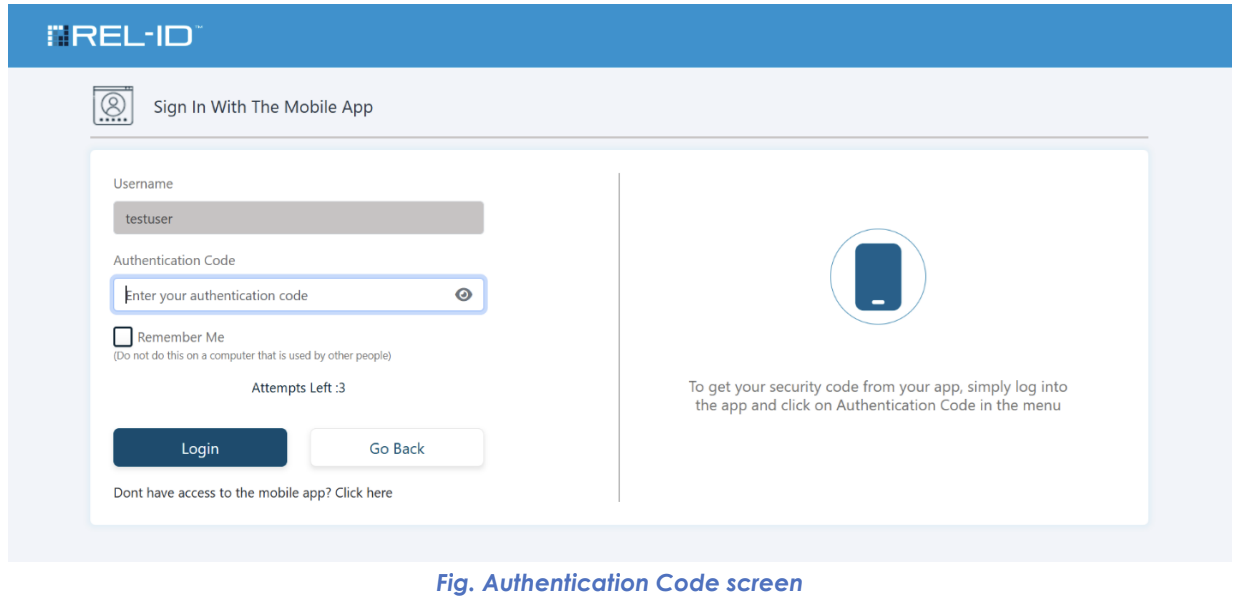
📱 Step 5A: REL-ID Mobile User Path
- Primary Factor: User prompted to enter Time-based OTP from REL-ID Mobile App
- Code Display: 6-digit authentication code shown in mobile application
- Code Entry: User manually enters authentication code on web portal
- Validation: System validates code against current time window
🌐 Step 5B: Web-Only User Path
- Factor Options: User prompted for password, Email OTP, or other configured factors
- Selection: User proceeds with available authentication method
- Verification: System validates provided credentials
✅ Step 6: First Factor Validation
- Success Path: Valid authentication code/password allows progression
- Failure Path: Invalid credentials return user to step 5 with error message
- Attempt Tracking: System tracks failed attempts for security purposes
🎯 Step 7: Sign-In Options Presentation
- Available Methods: System displays all available second-factor authentication options
- User Profile Based: Options vary based on user type and registered factors
- Administrator Controlled: Available factors limited by system configuration
- Default Selection: First available option automatically selected
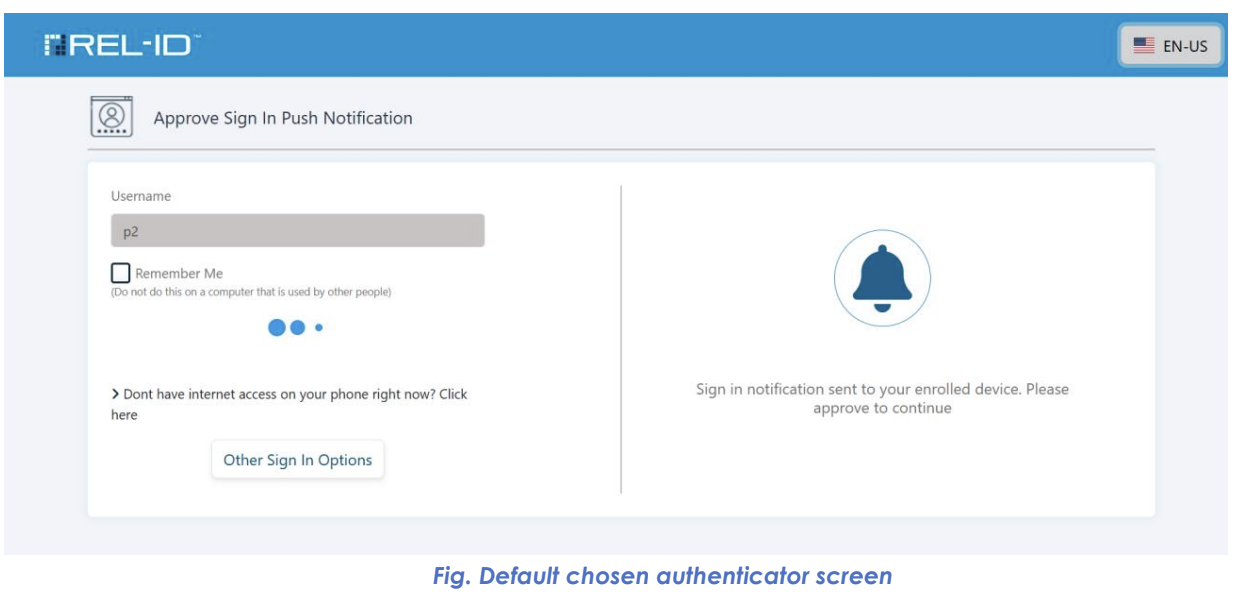
🔒 Step 8: Default Authenticator Selection
- Automatic Selection: First available Sign-In option chosen by default
- User Prompt: User asked to complete authentication with selected method
- Examples: REL-IDverify Push Notification, SMS OTP, Email OTP
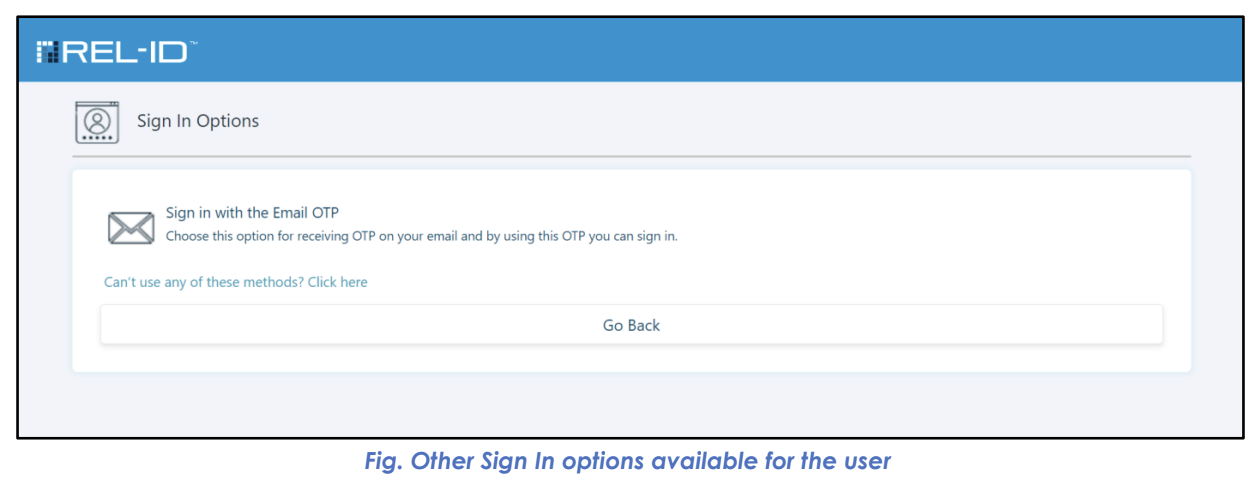
🔄 Step 9: Alternative Options (Optional)
- Other Options Available: "Other Sign In Options" button shown if multiple methods available
- User Choice: User can opt out of default selection
- Method Selection: User chooses preferred authentication method from available options
- Flexibility: Provides user control over authentication experience
🔐 Step 10: Second Factor Authentication
- Method Execution: User completes chosen authentication method
- Validation: System verifies second factor credentials
- Security Completion: Both factors successfully validated
🎉 Step 11: Successful Authentication
- Session Creation: Authenticated session established
- Redirect Process: User redirected back to RP's callback URL
- Authorization Code: Callback includes authorization code for token exchange
- Token Exchange: RP can exchange authorization code for access token
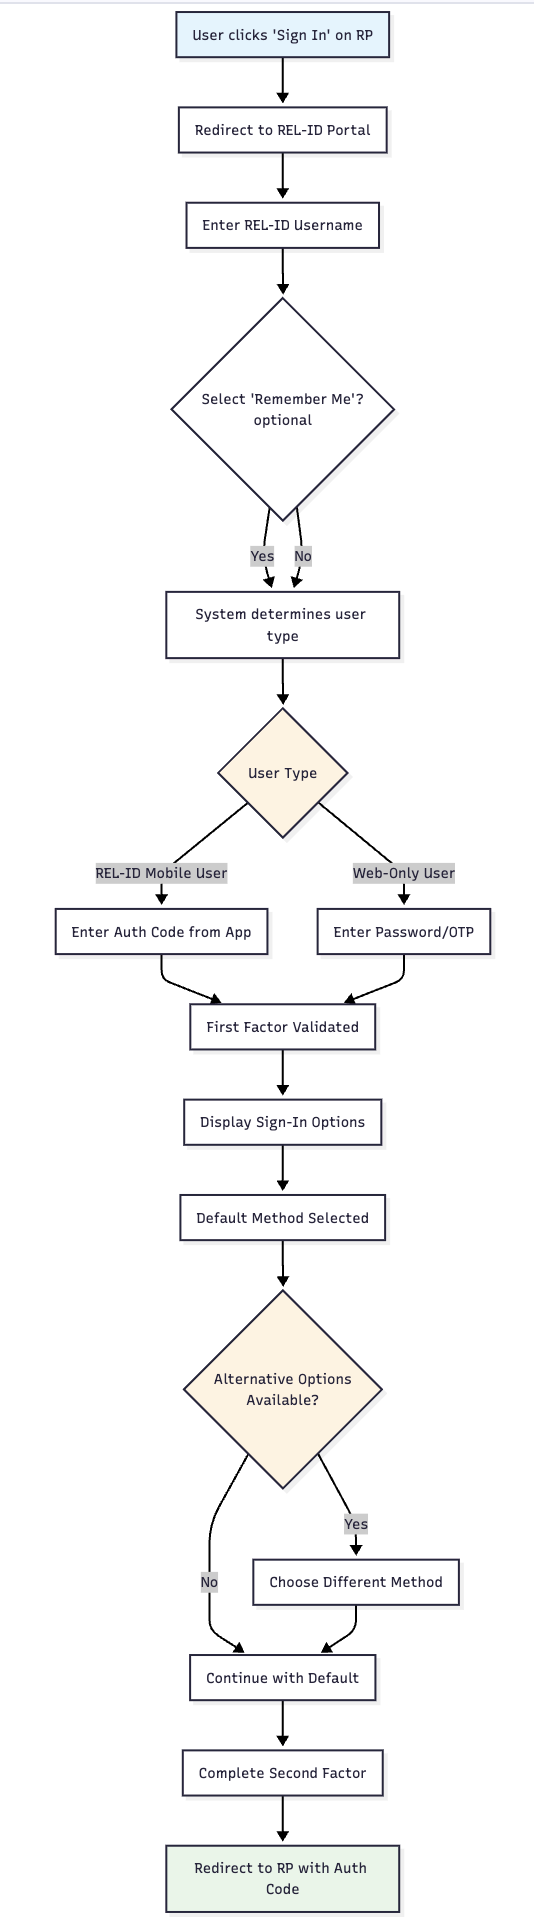
📊 Unrecognized Browser Flow Diagram
Updated 15 days ago