Scan your Document
📄 Step 3.1: Scan Your Document
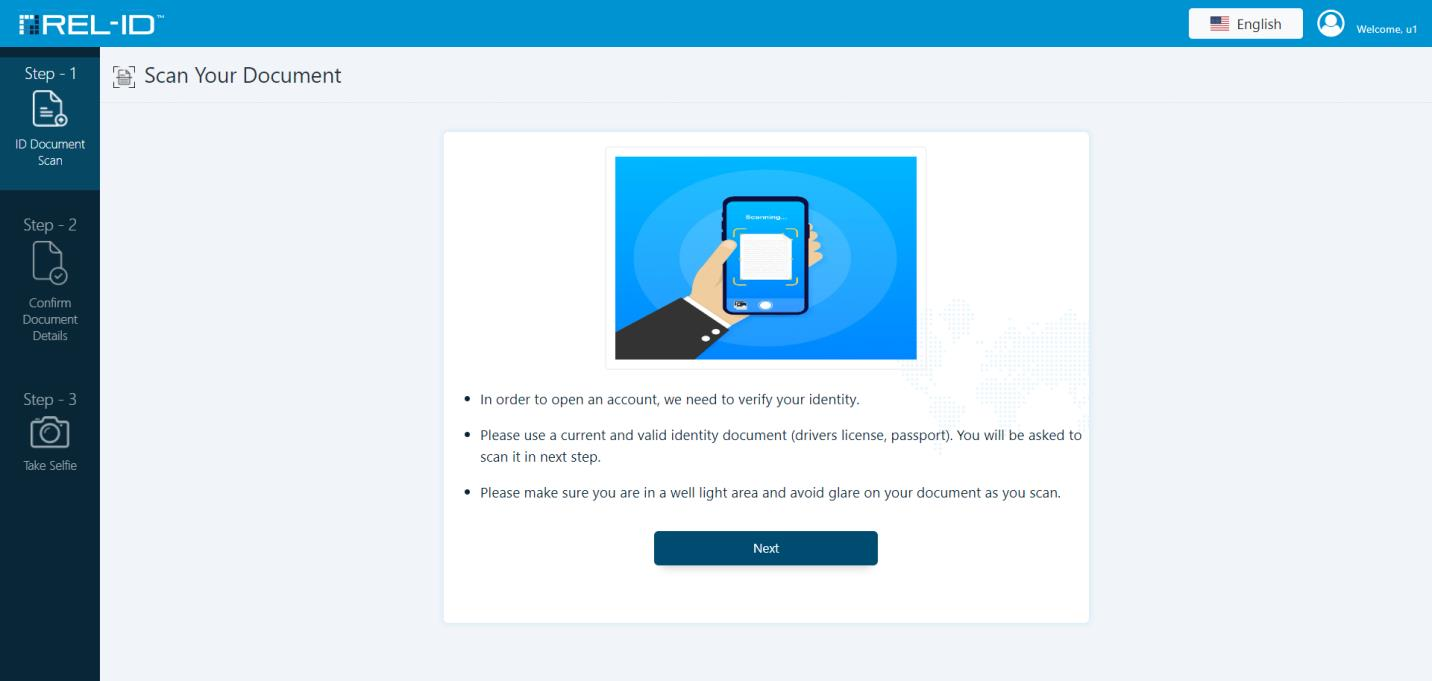
Once the user is redirected to the IdvWebServer with a valid web_session_id, the identity verification begins with Step 1: Document Scan.
🎯 Purpose
The user uploads or captures an identity document. IdvWebServer automatically detects document type and extracts key fields using OCR (Optical Character Recognition).
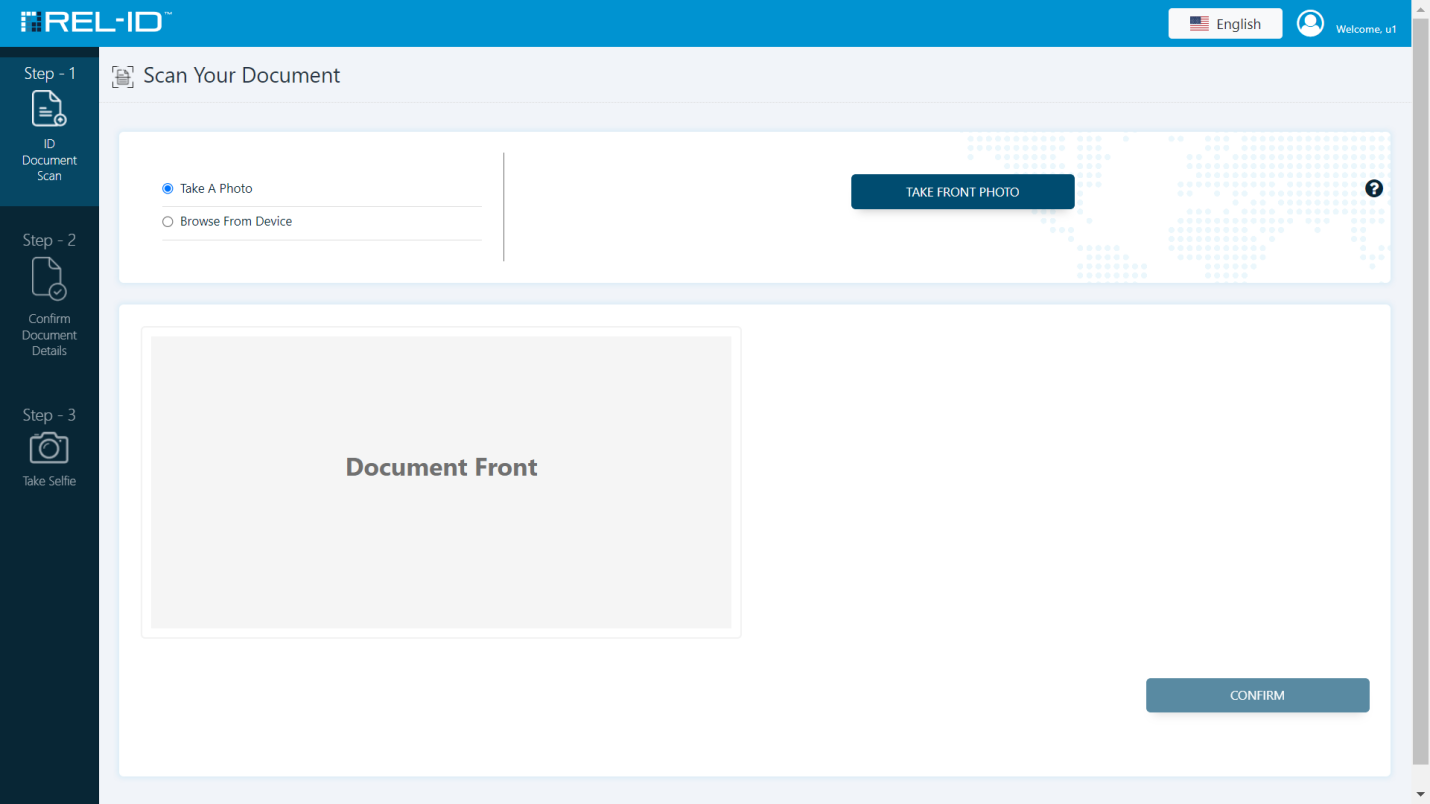
🧾 Document Submission Options
The user can submit the identity document through one of the following methods:
-
📷 Take a Photo
Opens the device’s camera. The user aligns the document within the frame and captures an image. -
-
💻 Browse from Computer
Uploads a scanned image or file from the user’s system (JPEG, PNG, PDF). -
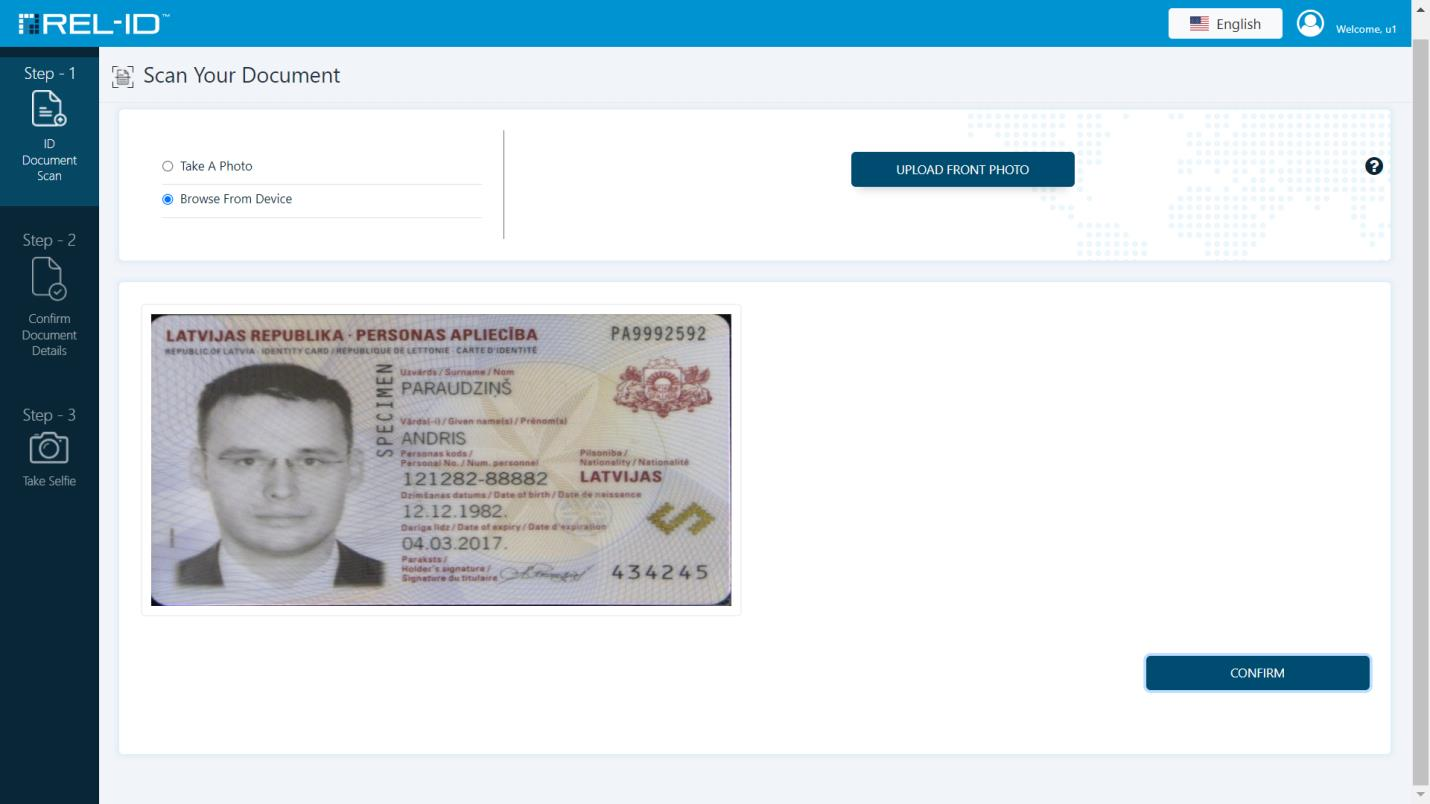
After uploading the front side, the user can:
- ✅ Confirm to proceed, or
- 🔁 Retake/Re-upload the image if unclear.
If the document has a back side, the system prompts the user to:
-
📷 Take Back Photo, or
-
📁 Upload Back Photo
-
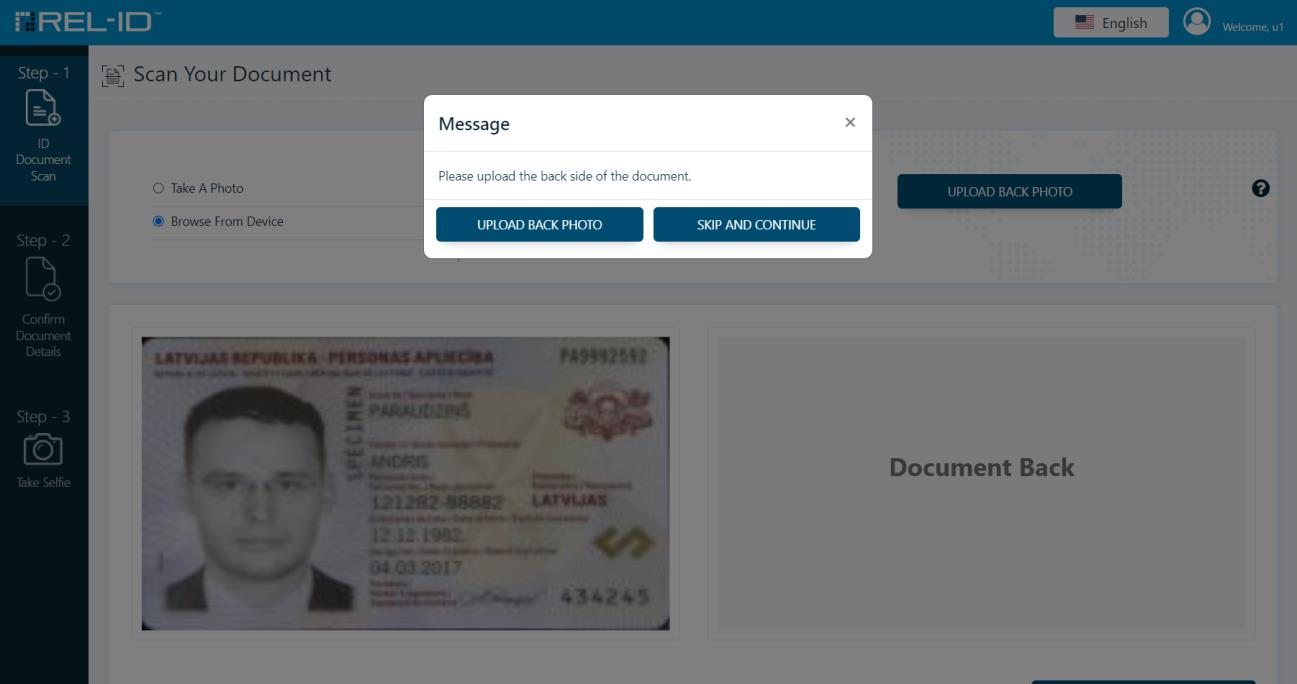
Tip: It's recommended to upload both sides for better verification accuracy.
Users can skip the back side by clicking “Skip and Continue” if it's not mandatory.
⚙️ Backend Behavior
- 🛡️ Validates image format and size
- 🔍 Performs OCR and identifies document type
- ✅ If V3 scan structure is enabled via
sdk.app.settings, extra compliance checks are triggered
👨💻 Developer Notes
- 🎥 Ensure the browser allows webcam access
- 🧠 Backend handles all scanning logic—no enterprise API calls are required at this step
- 📑 Supports both front-only and front+back document flows
Updated 4 months ago